

Working with Datasources
To start querying, visualizing, and generating new training-ready datasets, you first need to connect the data you want to work with. Connecting data sources can be done via the DagsHub UI, or the DagsHub Python Client.
There’s no limitation on the amount of data sources per repository. Different data sources can point to the same bucket (or different paths within the same bucket) without being related to each other. This allows you to manage different metadata tables and use cases on the same raw data. Once the data source is created, DagsHub will scan it and automatically add metadata, such as file size to each data point as a meta-data field.
Uploading or connecting data
There are 3 ways to connect a data source:
- Use data you already have in your repository
- Upload new data to your repository
- Connect external storage, like AWS S3, GCS, Azure Blob Storage, MinIO, Ceph and any S3-Compatible storage to your repository
Select the approach that's relevant to you, then proceed to the next step.
1. Create a data source with data in your repository
Using the DagsHub UI
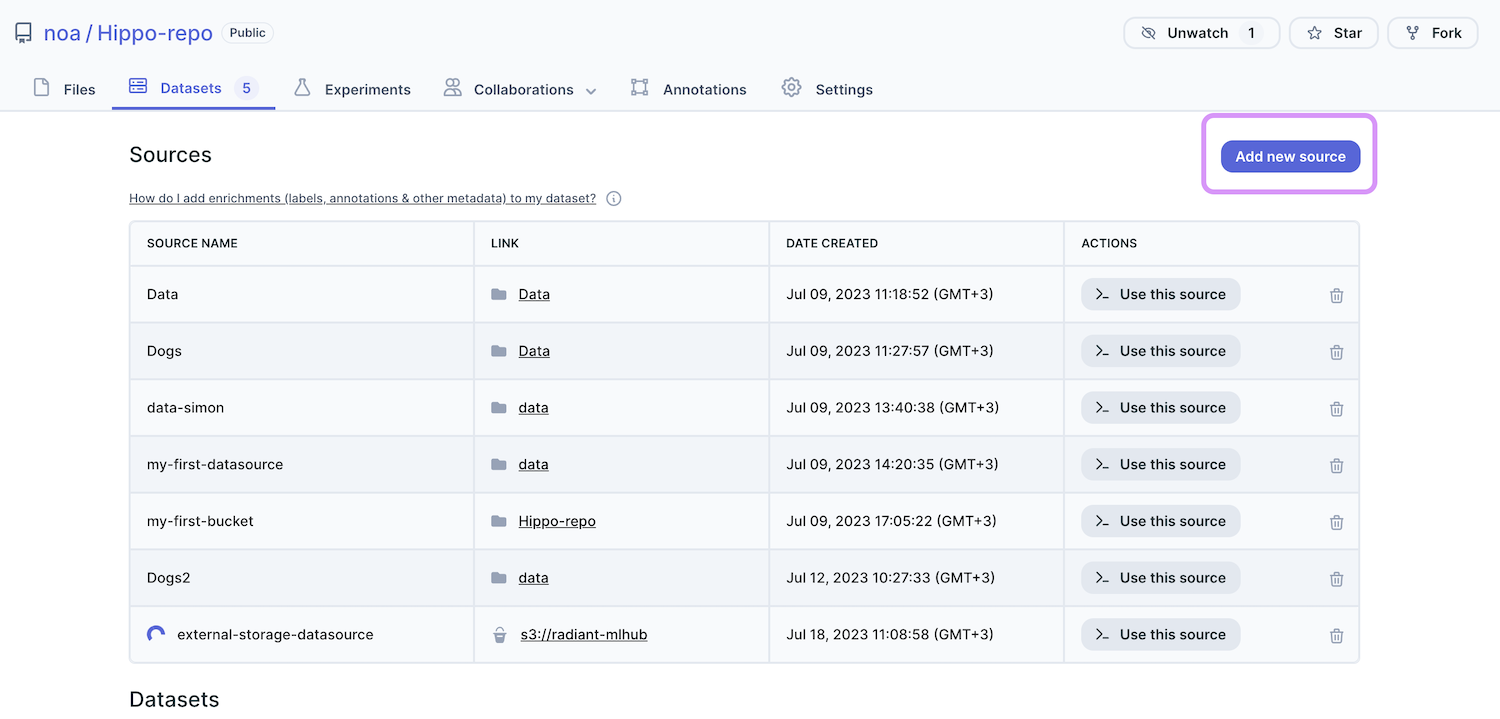
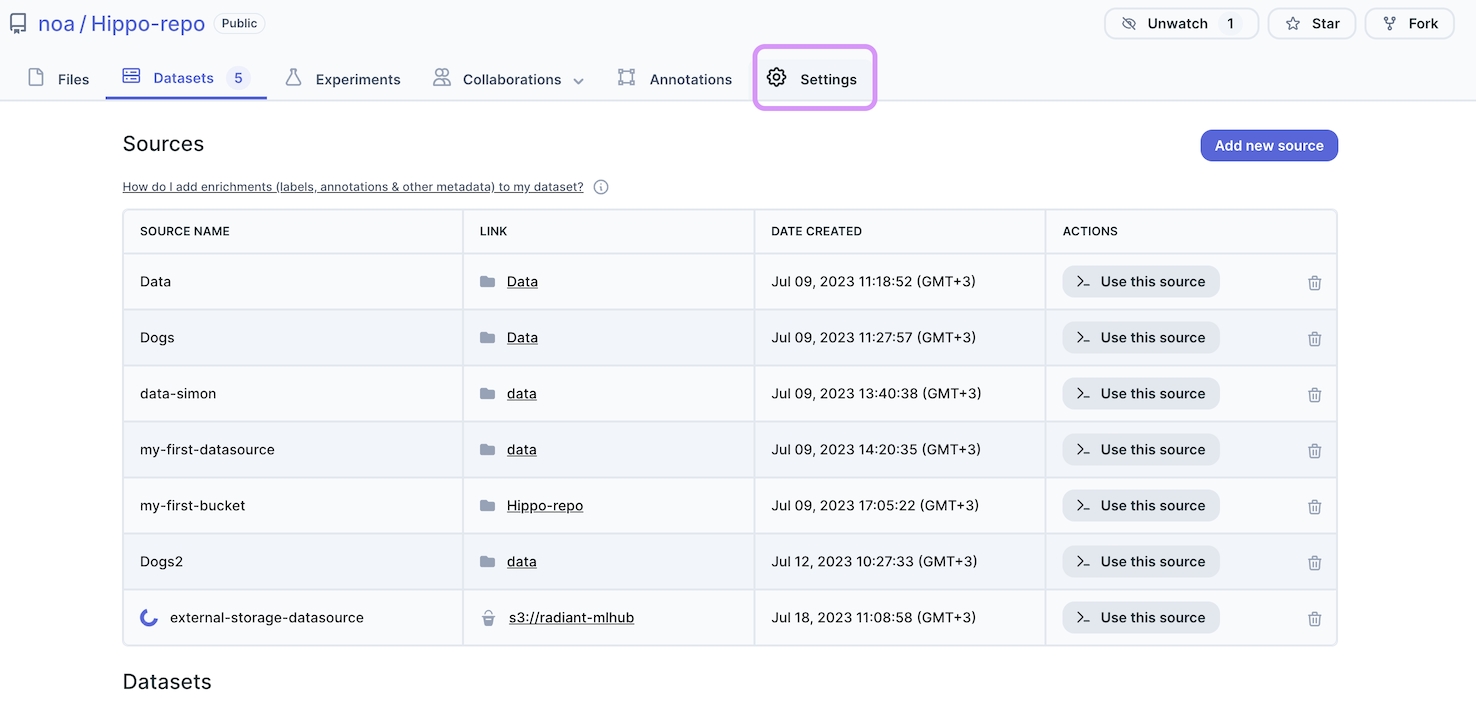
In your repository, navigate to the Datasets tab and click on the ‘Add new source’ button.
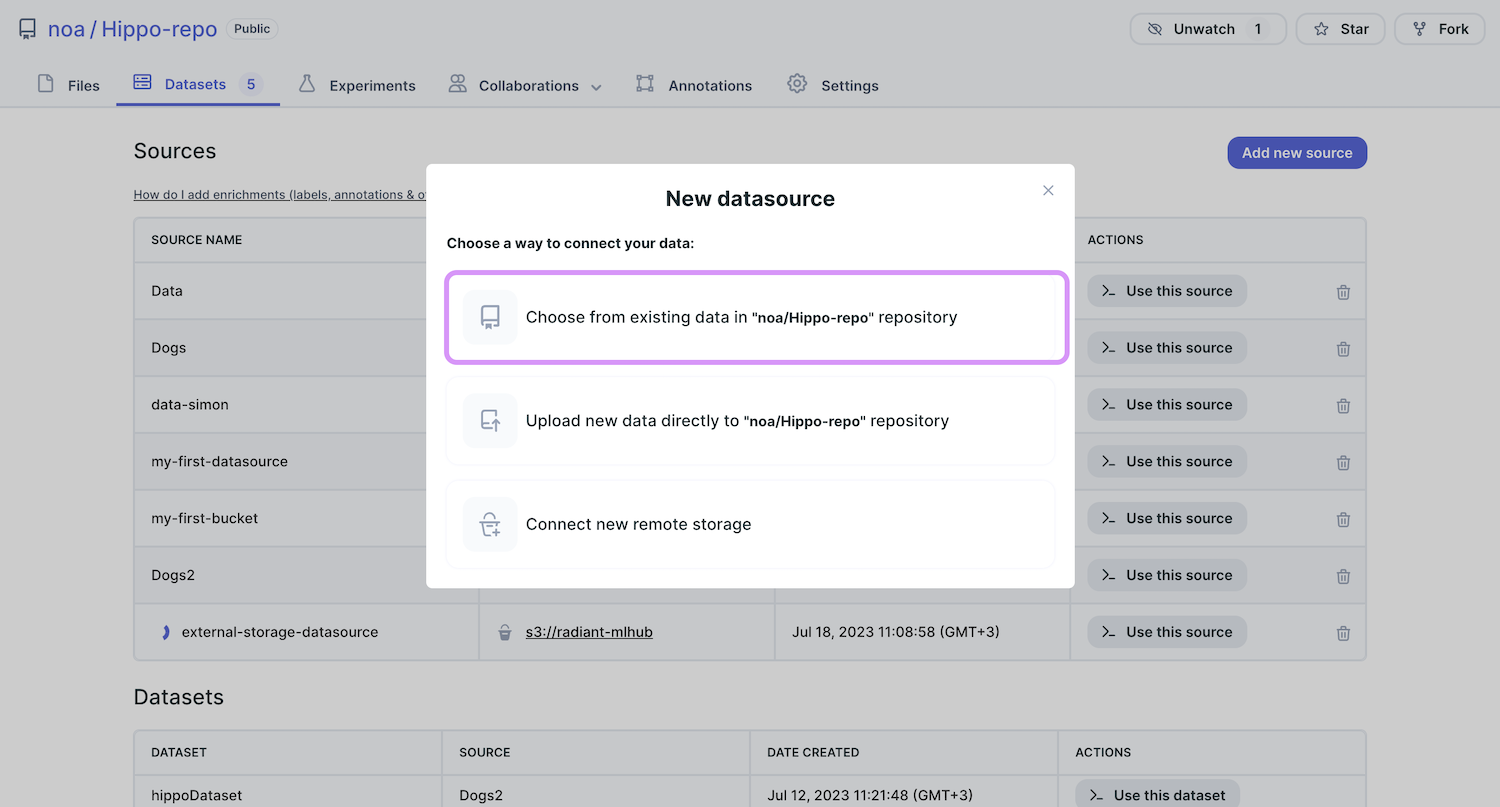
Click on the ‘Choose from existing data’ option.
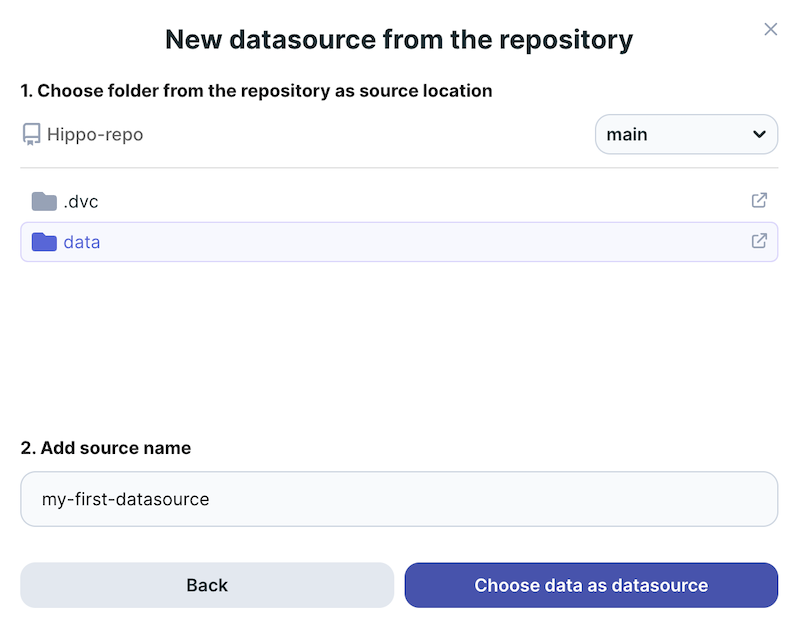
Choose the folder that contains the data you want to work with, fill in the name you want to give to your data source,
and click on the ‘choose data as datasource’ button.
The new source will be added to the table.
 You can already use your data source while it is being loaded. Keep in mind that using the datasource while metadata is
being generated means that some of the rows in the table might not be available.
You can already use your data source while it is being loaded. Keep in mind that using the datasource while metadata is
being generated means that some of the rows in the table might not be available.
Using the DagsHub Python client
from dagshub.data_engine import datasources

ds = datasources.create_from_repo(repo="UserName/RepoName", name="DataSourceName", path="/DataFolderName")
repo- a string with the repo owner and name of the repository you want to work on.name- the name you want to give to your data source.path- the path of your data folder inside your repository, relative to the repo root. Data Engine will scan all files in this folder, and create the datasource from them.
case sensitivity
Properties are case-sensitive, make sure you use capitals when needed.
For example, for our
baby Yoda segmentation repo, this is how to create a data source named "default-datasource", pointing to the data under the /images folder at the root of the repository:
ds = datasources.create_from_repo(
    repo="Simon/baby-yoda-segmentation-dataset",
    name="default-datasource",
    path="/images"
)
2. Create a data source by uploading new data to your repository
To create data source with new data, you will first have to add the new data to your repository. There are 3 ways to upload new data to a DagsHub repository:
(Recommended) Upload data using DagsHub client:
# Upload data to dagsHub repository
dagshub upload <repo_owner>/<repo_name> <local_file_path> <path_in_remote>
Upload data using DVC
To learn how to upload your data with DVC, please check out the tutorial
Use the DagsHub UI
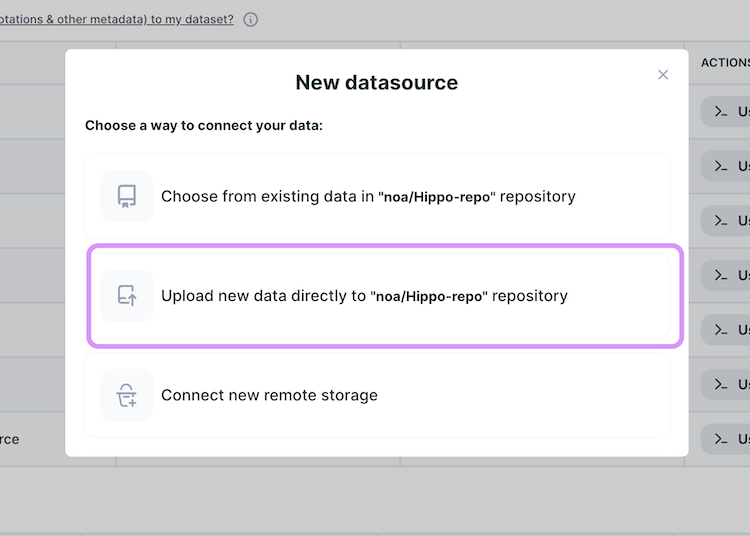
Navigate to the ‘Datasets’ tab and click on the ‘Add new source’ button. Choose the ‘Upload new data directly’ option
and follow the instructions:
 This will present you with a notebook, that you’ll be able to open in Google Colab, or download to run locally, which
includes code snippets you can run to upload your files to DagsHub directly, and create a datasource from it.
This will present you with a notebook, that you’ll be able to open in Google Colab, or download to run locally, which
includes code snippets you can run to upload your files to DagsHub directly, and create a datasource from it.
3. Create data source from external storage
External Storage Credentials
When working with external storage, note that you'll need to set up proper permissions for your remote storage. To read more about how this is done, check out the external storage integration guide
Using the DagsHub UI
Click on the ‘Add new source’ button.
Click on the ‘Connect new remote storage’ option.
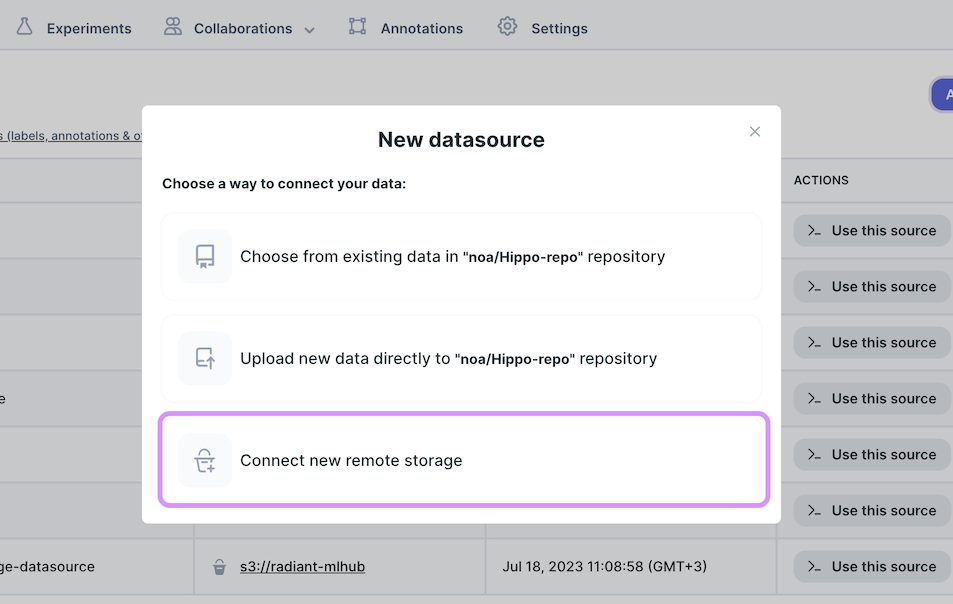
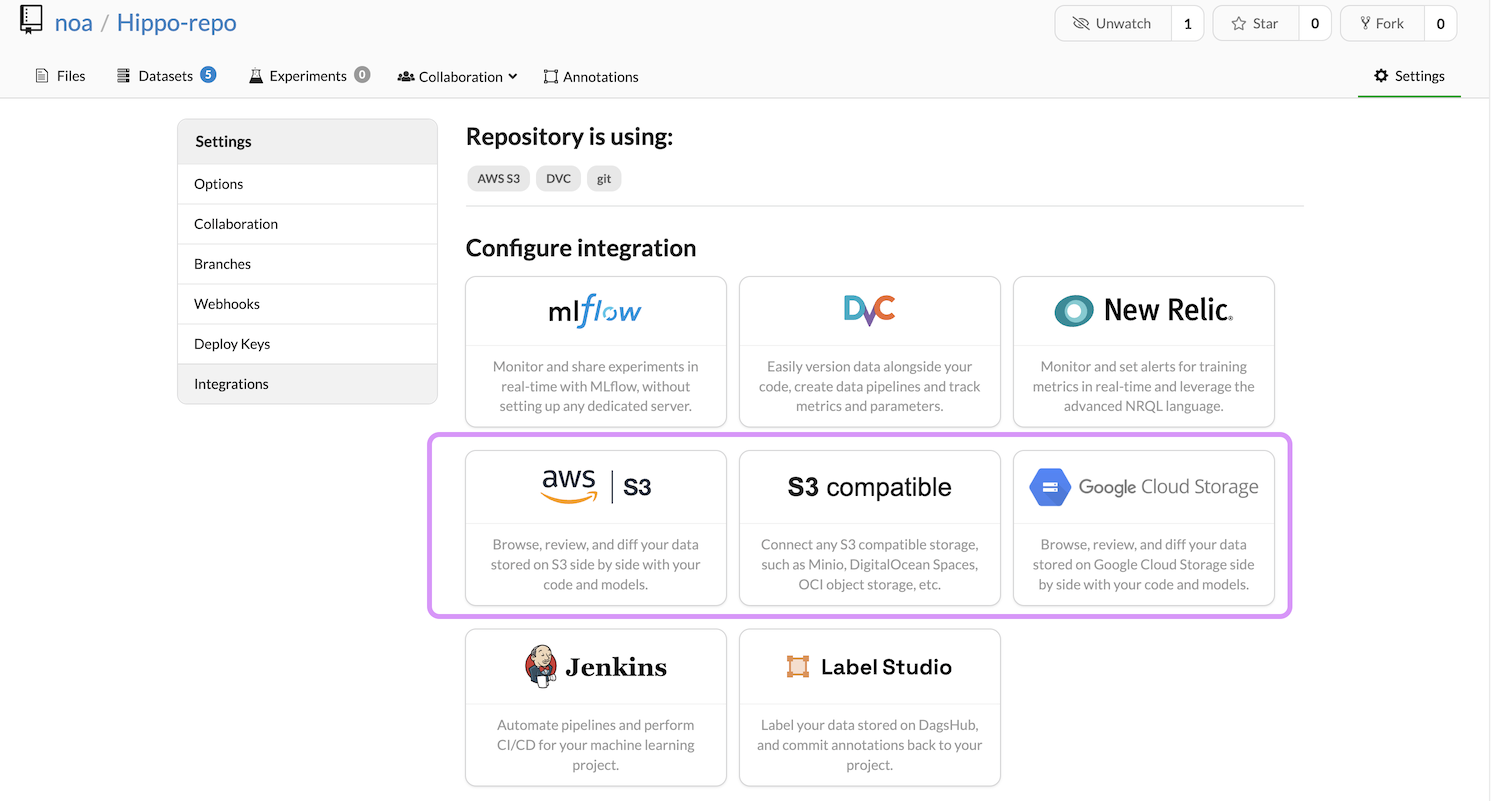
Choose the relevant provider and follow the integration instructions.
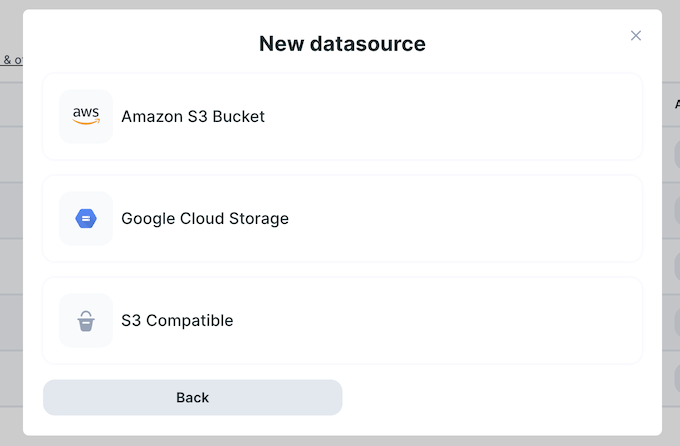
You will need to provide DagsHub with the following:
- Bucket URL & Prefix
- Region
- Access Key ID
- Secret Access Key
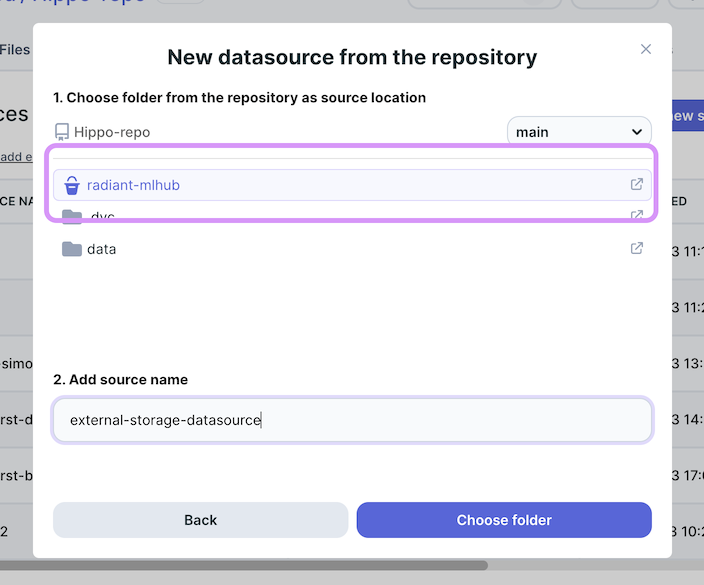
Once your external storage is successfully connected, choose the folder that contains the data you want to work with,
fill in the name you want to give to your data source, and click on the ‘choose data as datasource’ button.
The new source will be added to the table, but you can already use your data source while it is being loaded.
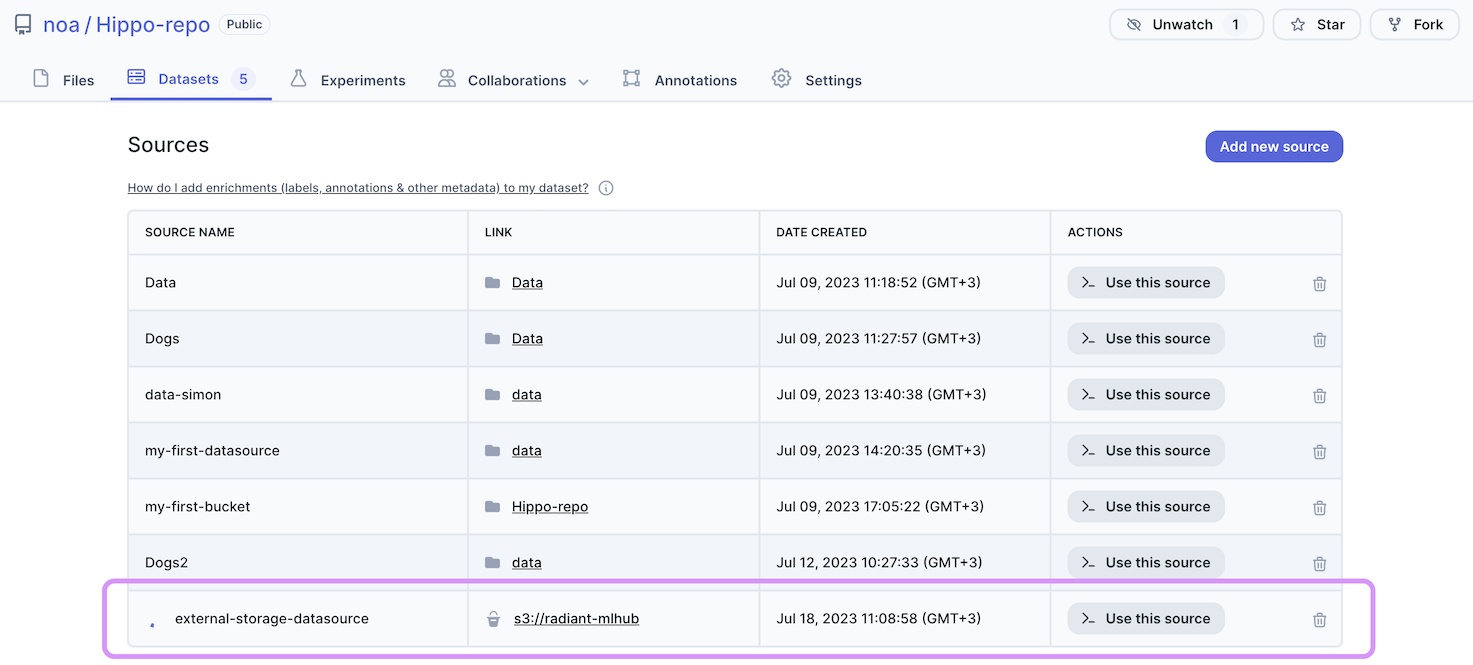
Datasource availability
You can start using your data source while it is being scanned. Keep in mind that using the datasource while metadata is being generated means that some of the rows in the table might not be available.
Using the DagsHub Client
Before creating a data source from external storage, you will have to connect it to your repository using DagsHub UI.
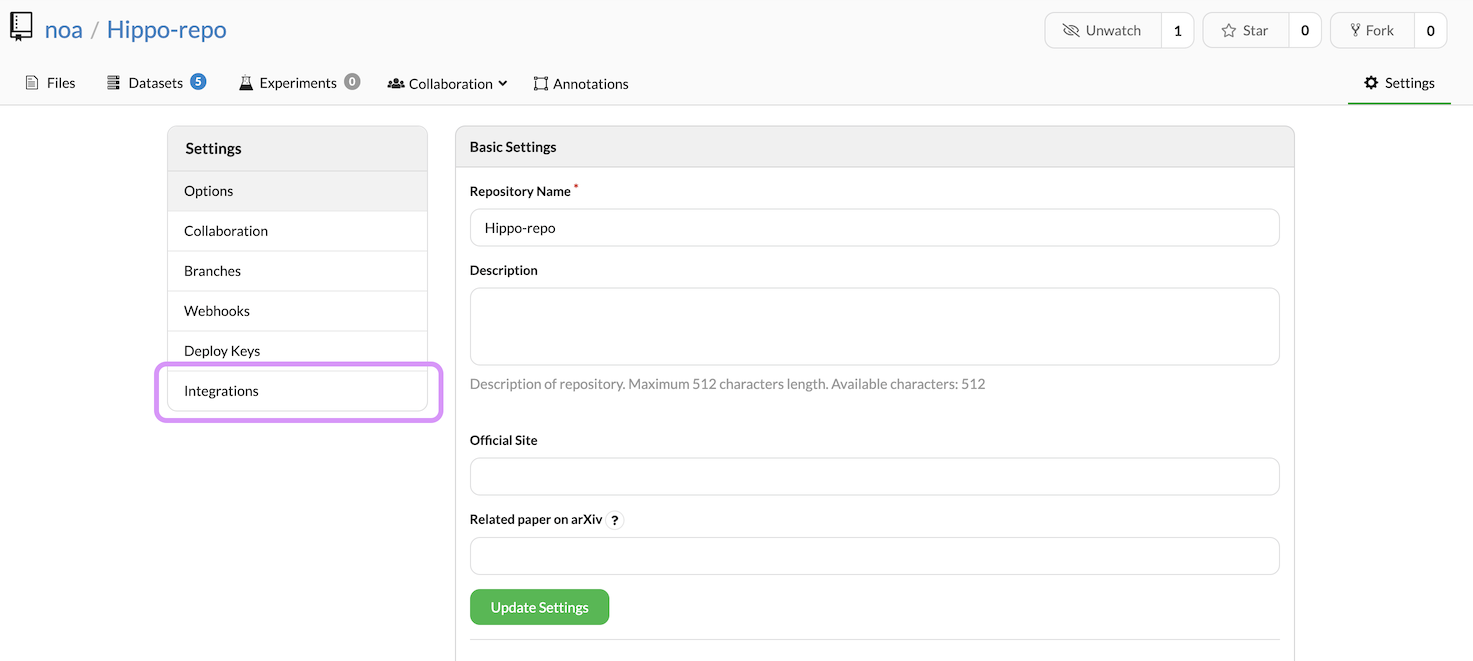
Navigate to the Integration section.
Choose the relevant provider and follow the integration instructions.
 You will need to provide DagsHub with the following:
- Bucket URL & Prefix
- Region
- Access Key ID
- Secret Access Key
Once your external storage was successfully connected, use the following command to create a new data source with it:
ds = datasources.create_from_bucket(
    repo="UserName/RepoName",
    name="DataSourceName",
    path="s3://external-bucket-url/dataFolder"
)
View your connected datasources
To list all data sources in the repository, use the get_datasources command, which returns a list of datasource objects:
ds_list = datasources.get_datasources("UserName/RepoName")

# Get the second datasource in the list
ds = ds_list[1]
For example, for our baby Yoda segmentation repo:
ds_list = datasources.get_datasources("simon/baby-yoda-segmentation-dataset")
To get specific data source, use the get_datasource command:
ds = datasources.get_datasource("UserName/RepoName", name="dataSourceName")
For example, for our baby Yoda segmentation repo:
ds = datasources.get_datasource("simon/baby-yoda-segmentation-dataset", name="bucket-ds")
Add new data points to a data source:
For data in your repository:
In case the data is located in a repository (tracked & versioned by DagsHub), Data Engine will automatically scan the data source for changes after uploading new data points and commiting. To add data points to your data source - simply upload the new data points to your repository. There are 2 ways to add data to your repository:
(Recommended) Upload data using the DagsHub client
pip3 install dagshub

# Upload data to dagshub repository
dagshub upload <repo_owner>/<repo_name> <local_file_path> <path_in_remote>
Pro Tip
To upload data to your project's DagsHub-hosted S3 bucket, add the --bucket flag to the above command.
Upload data using DVC
To learn how to upload your data with DVC, please check out the tutorial.
For data located in an external storage:
In cases where your data is located in an external bucket, Data Engine will automatically scan the bucket for changes every 24 hours - newly added data points will be available after scanning.
Manual datasource Updates
To make sure the data source is up to date, Data Engine scans the data source automatically and displays the changes immediately once scanning complete.
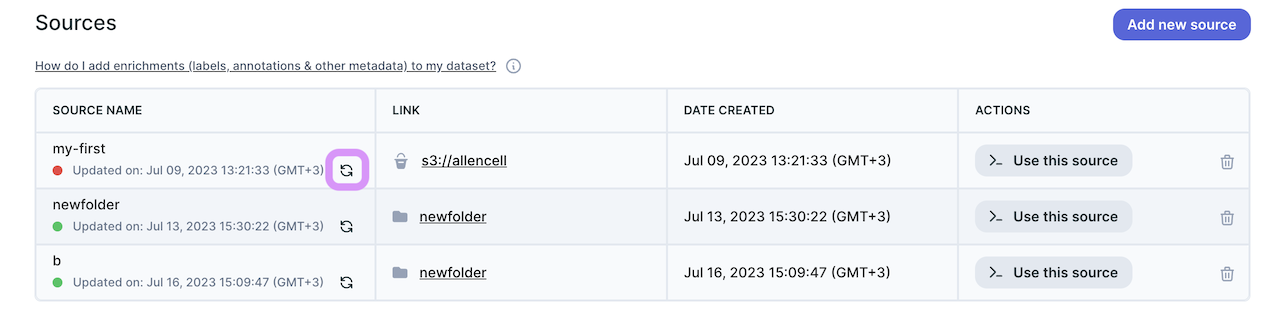
However, you can manually scan your data source for updates. To do that, use the following command:
ds.scan_source()
or, click on the 'refresh' icon in DagsHub UI:
Delete datasource
To delete a data source (the required permissions are Repository Admin), use the following function:
ds.delete_source()
Warning
This is a destructive operation! If you delete the datasource, all the datapoints and metadata will be removed.